How to Wash Running Shoes: A Step by Step Guide
Do yourself (and your loved ones) a favour and wash your running shoes every once in a while.
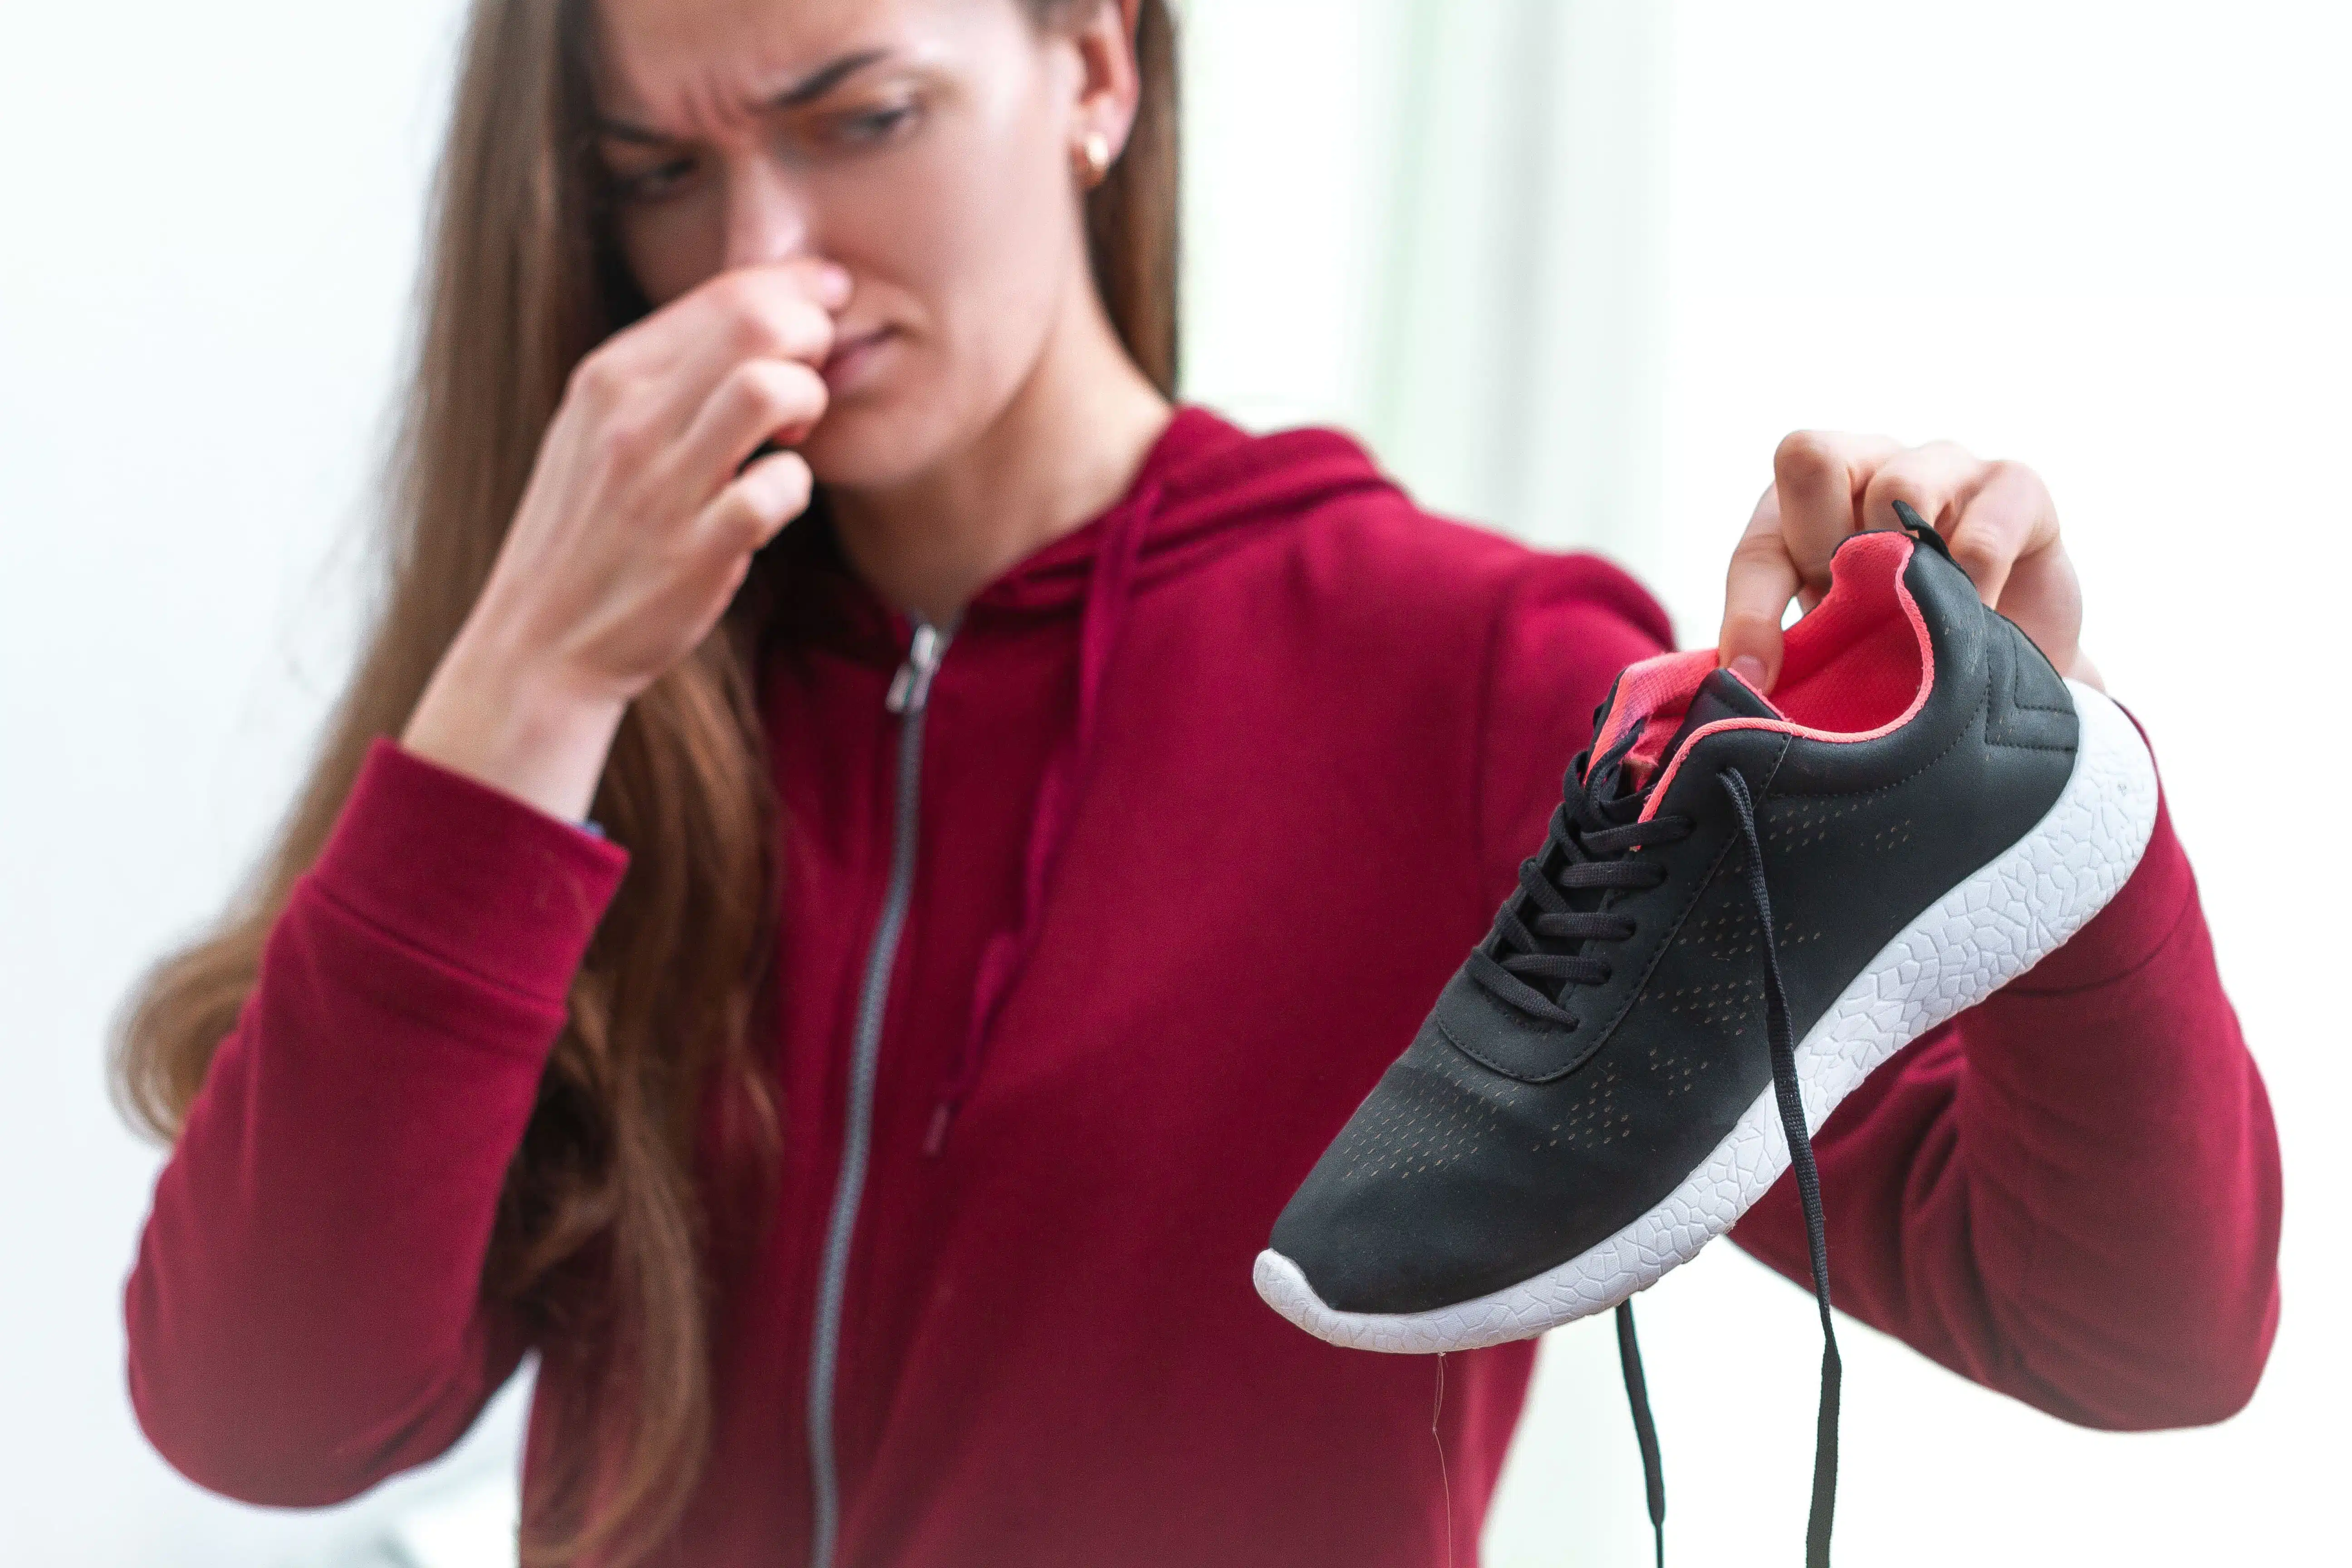
Your running shoes take a beating. The constant pounding of pavement they have to endure is only made worse if you have to run through messy or wet conditions. Let’s also not forget the sweat they absorb, especially during long runs on hot days.
Regularly washing your running shoes is a great way to keep them fresh — this also increases the comfort and support they provide.
In this post, we’ll look at the proper way to wash running shoes. We’ve included a step-by-step guide on how to wash running shoes, as well as some tips on knowing when it’s time to replace your shoes instead of washing them off one more time.
Can I Was Running Shoes in the Washing Machine?
If you’re wondering whether you can put your running shoes through a machine wash, the answer is a hard no!
Washing machines were built to wash fabrics that are light enough to float through the various wash, rinse, and spin cycles. If you’ve ever put a pair of shoes in your washing machine, you’ve probably heard the chaos that erupts when they start spinning around in the machine’s drum.
Think of your shoes as a piece of technology — the most important piece of technology a runner can have.
A massive amount of science has gone into their design. The shape of the sole, the thickness of the cushioning, the resilience of the cloth or mesh upper, and every other component were all designed to maximize performance and minimise your risk of injury.
Throwing that technology into the wash can harm those components and make them less resilient when you put the shoes back on.
We recommend that you take the extra time to wash your running shoes by hand. This will ensure they stay in the best possible conditiom to support you through your training.
How to Wash Running Shoes – Step by Step
Now that you know you should wash your shoes by hand, you’re probably wondering how to do that in the most effective way possible.
It can be tempting to dunk them in a sink full of soapy water and leaving them to dry, rinsing out the sweat and removing the visible dirt and debris.
But doing this can oversoak your shoes — they’ll take days to dry, and even then, they won’t have been properly cleaned.
Instead, follow these steps to wash your running shoes the right way:
1. Prepare the Shoe
If you’re starting with visibly muddy shoes, shake off any big chunks of dirt or grime from obvious places like the soles or the heels.
If dried mud or small pieces of gravel have gotten lodged into the treads of the soles, use a flat tool like a butter knife to scrape them out (avoid sharp tools). Removing these big chunks makes washing the rest of the shoe much easier.
2. Prepare the Water
Add a few tablespoons of baking soda to a washing up bowl of warm water.
It’s not necessary to use any detergent stronger than baking soda unless you’re dealing with stubborn stains that you can’t get rid of. Baking soda will not only help clean the shoes, but it will deodorize the shoes as well.
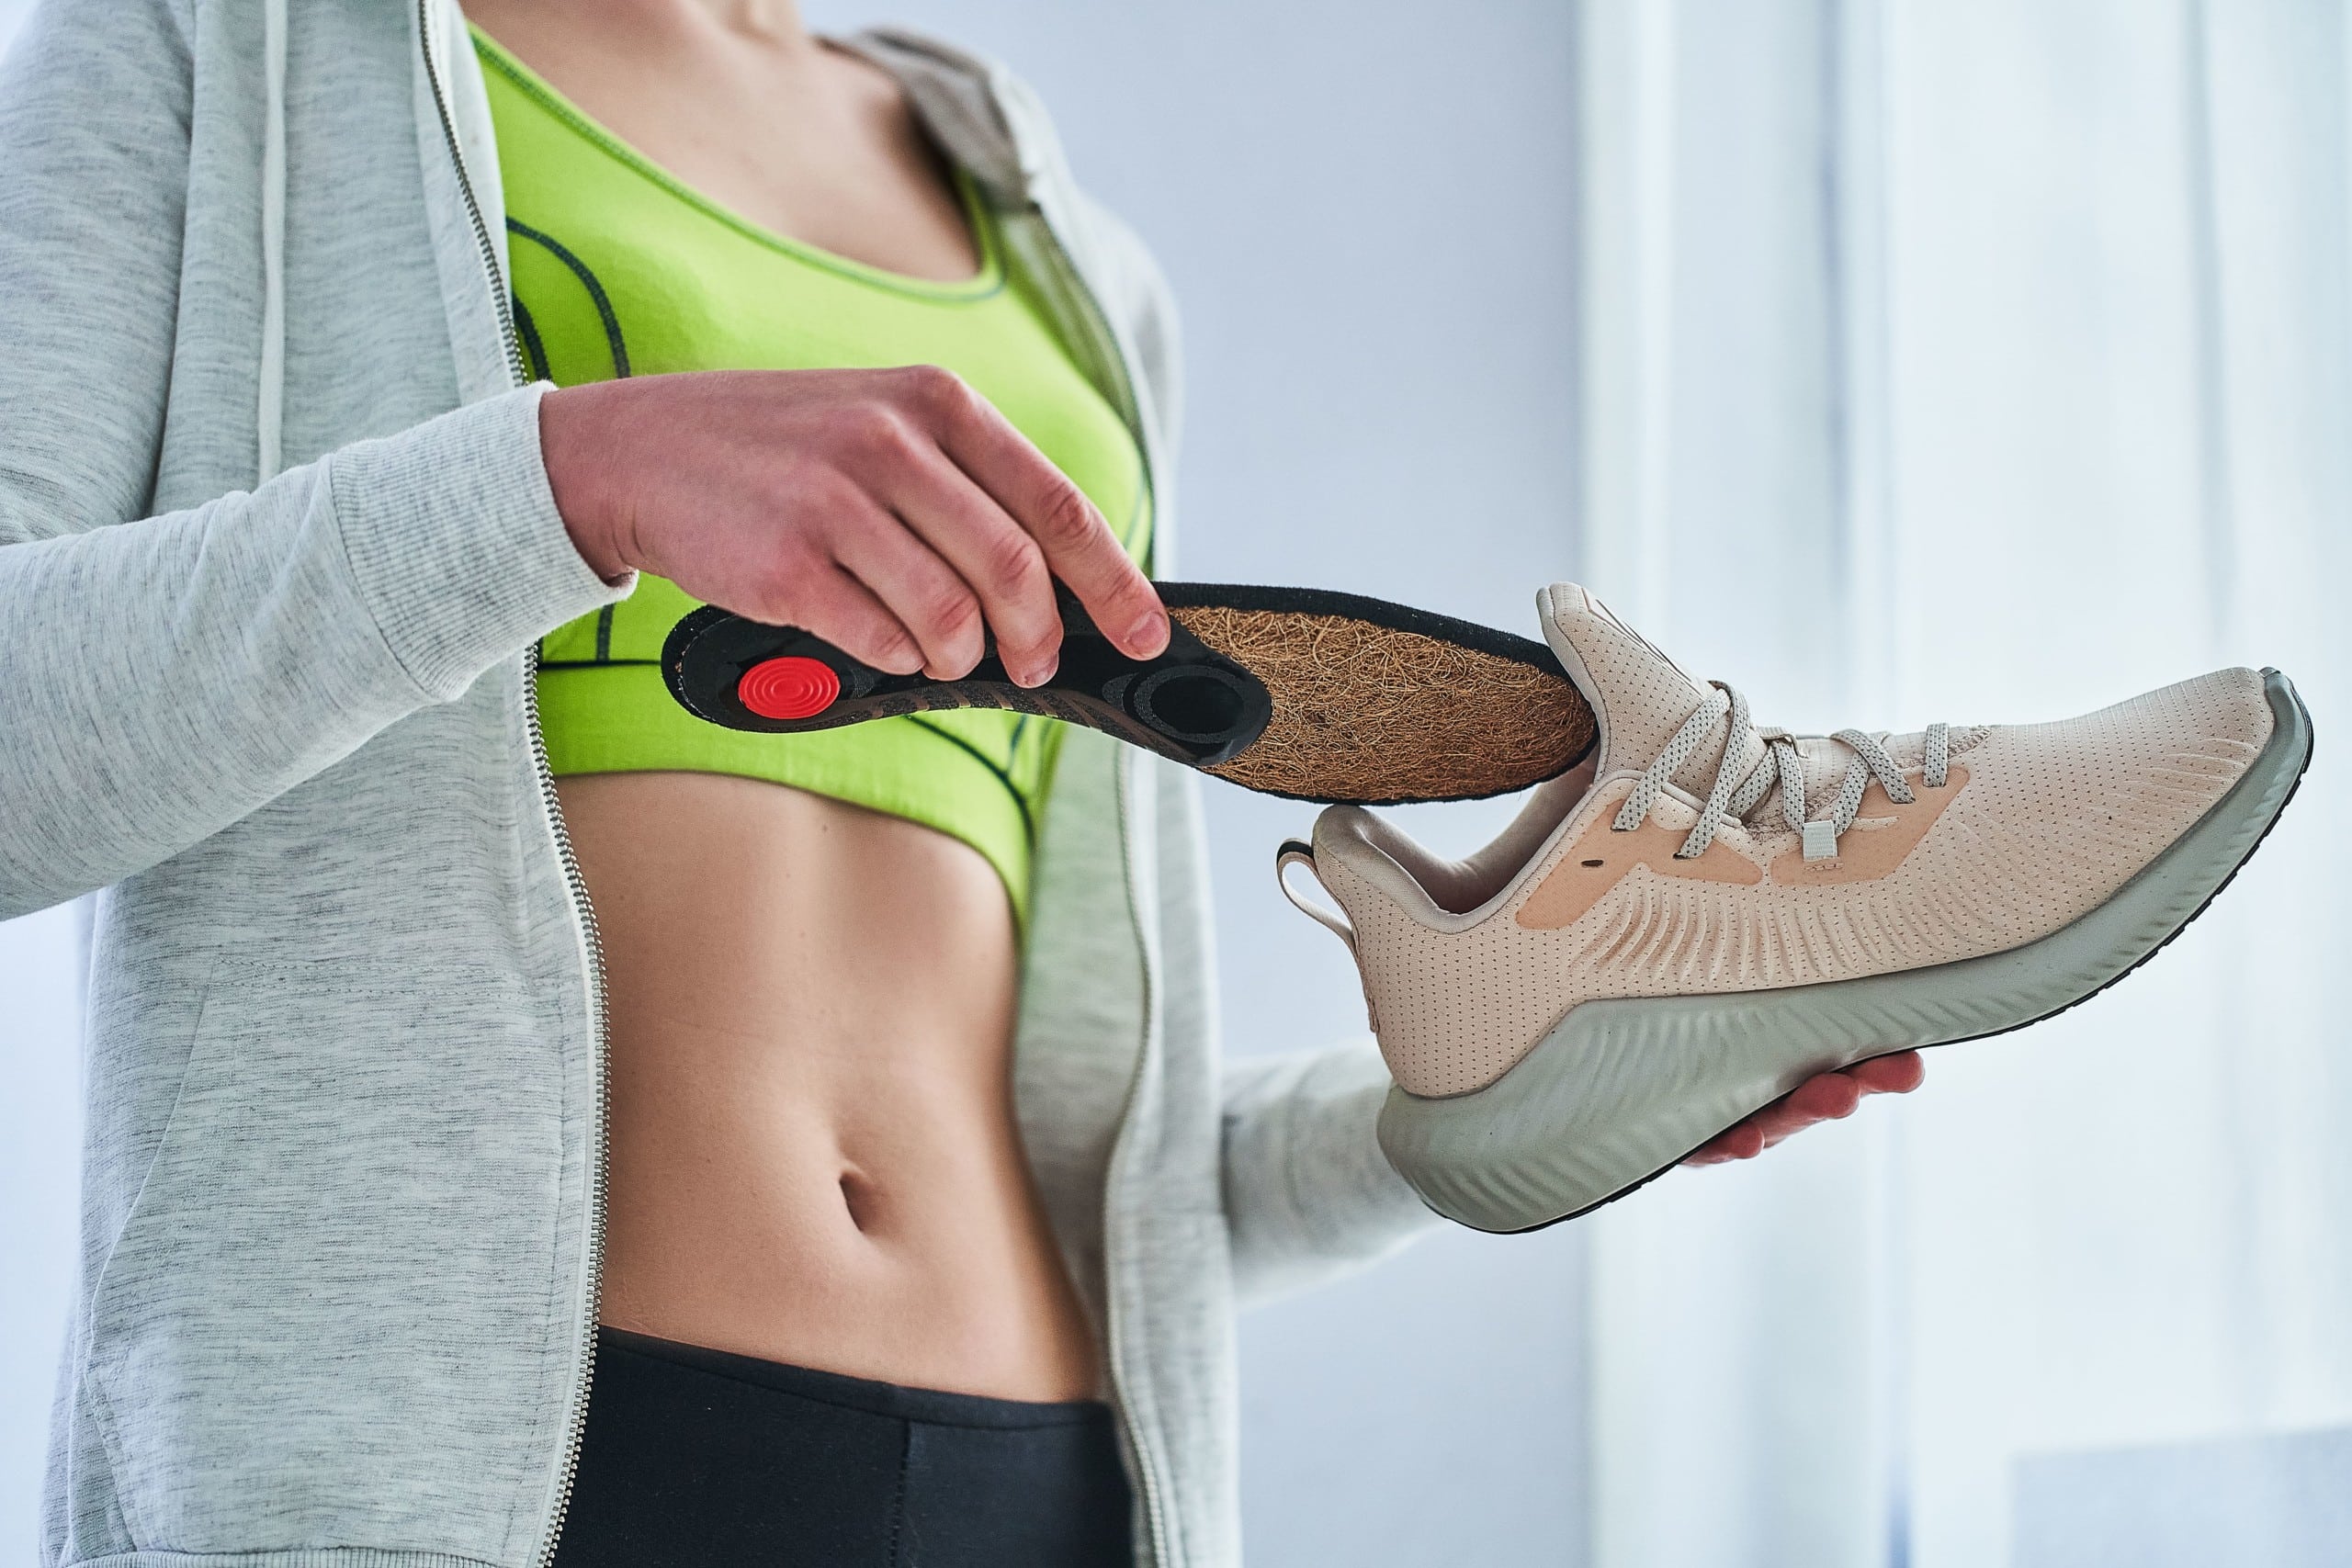
3. Remove the Insoles
Gently remove the insoles from the shoes and set them aside. This is especially important if you have custom running insoles. We’ll come back to those later!
4. Remove the Shoelaces (Optional)
Shoelaces can be removed so that you can more easily access the interior of the shoe with your hand. This isn’t required — it may suffice to loosen them up enough to get your hand in there.
Of course, if the shoelaces themselves are visibly dirty, they can be run through the washing machine (or hand-washed) separately.
5. Pour Some of the Cleaning Solution Over the Shoes
You don’t need to fully immerse the shoes in the water and cleaning solution. If you do, it will just take longer to dry them out.
If your shoes are extremely dirty, you can attempt to fully submerge them but be prepared for the shoes to be out of commission for a few days.
Fill a cup or small pitcher and pour some of the water and baking soda over the shoes, getting them wet enough to start the cleaning.
6. Sponge off the Exterior
Using a wet sponge or a soft brush, gently clean the exterior of the shoe.
You want to be thorough and get the entire surface area, but don’t be too concerned about making the exterior appear brand new. These are running shoes — after all, they’re meant to get dirty!
7. Clean the Interior of the Shoes
The same wet sponge can then be taken to the interior of the shoe.
You want to ensure you’re covering all of the surface area inside the shoe, so slowly move through, starting at the toe and brushing out towards the heel.
8. Rinse Them Off
Use a new wet sponge or cloth to go over the exterior and interior of the shoe using only water — this will rinse off the baking soda solution and any other remaining debris.
9. Dry Them Out
Many runners stuff their wet shoes with paper towels or other materials to make sure they keep their shape as they transition from dry to wet.
Doing so can also speed up the drying process as the paper towels will slowly absorb the dampness from the wet shoes.
If you don’t do this, don’t worry. Once you put the shoes back on, they’ll form back to their original shape.
10. Spray Them Down
Once the shoes have been cleaned and thoroughly dried out, if odour is still an issue you can consider a fabric refresher spray inside the shoe.
These typically come with a heavy perfume, so use sparingly.
How to Wash Running Insoles
Now let’s get back to those running insoles that we removed.
The insoles of the shoe absorb a lot of sweat and odor, so cleaning them is especially important. Depending on the type of insoles your shoes have, you may be able to put them in the washing machine.
Don’t use a washing machine to wash insoles that have gel cushioning or any other kind of advanced padding systems. However, if the insoles appear to be made of simple foam or cloth materials, they can probably go through a wash cycle without a problem.
Be sure to use a delicate cycle with light and gentle detergent.
If the insoles cannot be washed, just rinse them off under fresh water and rub them down with a damp cloth. You can use a soft brush if you want to work on a particularly stubborn stain. If that is necessary, try sprinkling some baking soda directly on the stain and use the brush to work it into the stain. Once complete, rinse the insole thoroughly.
The insoles can be set next to their shoes to dry. Don’t put them back into the shoes until both the shoes and the insoles have completely dried.
When Should You Replace Your Running Shoes?
Washing your shoes frequently will keep them looking good, smelling fresh, and you might just get a few more miles out of them. But there comes a time when you have to decide between washing your shoes one more time or trading them in for a new pair.
It’s important to replace your shoes when required.
Running shoes do not last forever, and the more often you train, the sooner you’ll need to replace them.
Failure to replace a worn pair of running shoes increases your risk of injury — this is because the stability and cushioning of the shoes wear down over time.
The general rule of thumb for runners is to replace a pair of shoes once you’ve used them for 300-500 miles.
You also need to regularly inspect the tread on your soles — once the tread is visibly worn, it’s time for a new pair.
Pay attention to how quickly you tend to run through the tread on your shoes to determine if you should lean more towards the 300 or 500 side of the range.
Many running apps, such as Strava, offer gear tracking so you can easily see how many miles you’ve gone in each pair of shoes you have. You enter each pair of shoes you own into your profile and then select them as gear used on each run.
The app will calculate a handy list of each pair of shoes you have and how many miles you’ve put on each one.
If you’re constantly washing your shoes and keeping them in tip-top shape, it may not be obvious to you when you need a new pair, so don’t forget to track those miles!

Matthew is a lifelong runner, chief tester of all products, the founder of Running101, and freelance content writer for active brands. When he’s not writing, he enjoys lifting weights, cycling in the Lake District, and watching fast cars drive in circles on a Sunday. He also has a BA in sport, exercise and physical activity from the University of Durham.